
How to Grow More from Your Same Garden Space
Succession Planting and Intercropping Techniques
Growing more food from the same garden space seems like a fantasy to many gardeners. Yet, there are a few highly proven, time-honored techniques which have been tested and refined over the past several centuries which are perfect for today’s gardens.
We will show you two of these techniques in today’s article, giving some examples to get you started. Do not be fooled by the simplicity of these approaches, as they are easy and quick to understand but have many nuances that will only show themselves to you with experimenting and careful observation.
Also, don’t be put off thinking these are too difficult to try or to have initial success with. You will be amazed at the increase from your existing garden bed with a first approach, but realize that a careful and thoughtful study will return much more for years to come.
How Succession Planting Works
Enjoying delicious, freshly picked greens from your garden from mid spring through winter, even after the first frosts and into the harder freezes is entirely possible with just a little planning and understanding. The amazing part is it doesn’t much matter what climate you live in. Most greens thrive in cooler weather, but there are some heat loving varieties which will fill in the hotter months.
Spinach is a fast growing cool season green that only lasts a short time, so it needs to be re-planted every couple of weeks for a continual harvest. This is known as succession planting. Lettuce is another cool season crop that can either be harvested continually for leafy types or must be succession planted for the heading varieties of lettuce.
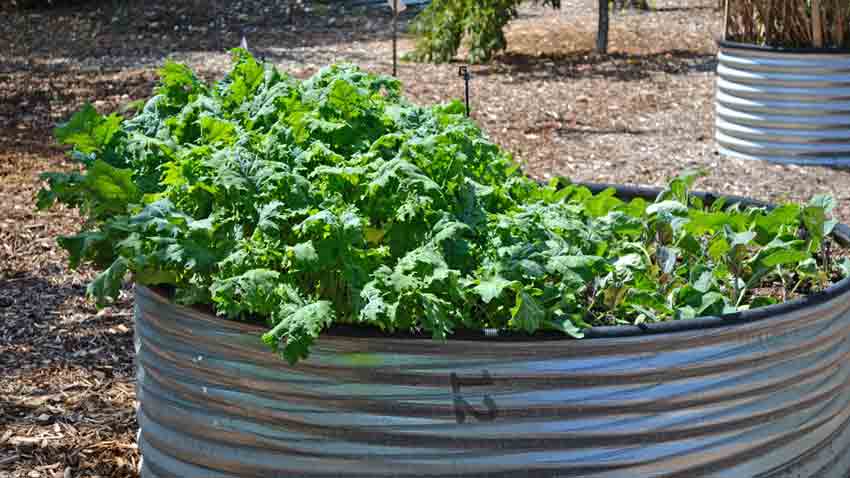
Large Container Succession Planting
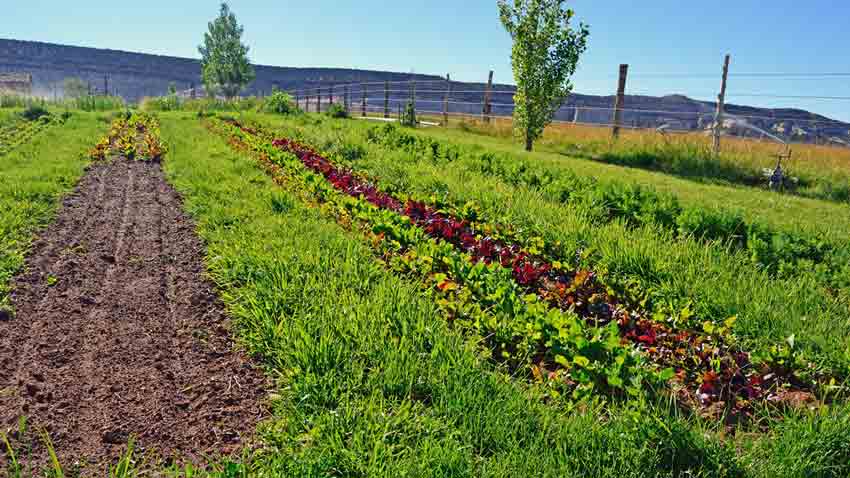
Succession planting involves seeding a short section of a garden bed, letting the crop start to grow then planting the next section a couple of weeks later. This continues down the bed, with the crop maturing in successive waves and giving you a continual harvest. Most gardeners will succession plant only a couple of feet at a time, so as not to overwhelm themselves with too much of a harvest at one time.
Other greens, such as Swiss chard, kale and collard greens grow more slowly and can be harvested all season long – they are both heat and cold tolerant, giving double duty in the garden.
Heat loving greens include amaranth, New Zealand spinach, Huazontle or Red Aztec Spinach and both red and green Malabar spinach, besides the above mentioned types.
Make sure to expand your focus outside of only greens, as there are many other vegetables which will do extremely well in succession planting. One example for a single garden bed or row are a full garden bed planting of early spring peas (which have a harvest season of just a couple weeks) followed by Bok Choi or other Chinese cabbage in a succession pattern, which is then followed by New Zealand spinach going into the warmer weather. This could be extended with fall radishes, beets, Swiss chard or kale if there is enough growing season.
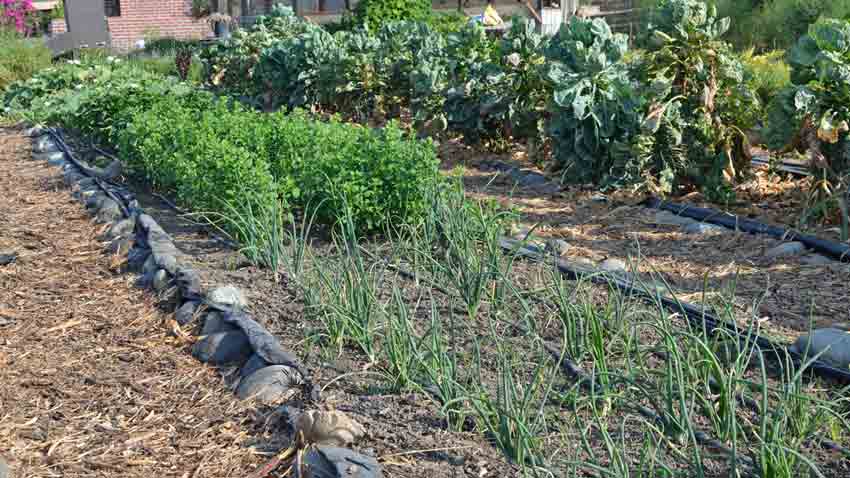
Green onions succeeding summer greens
From this one row, you have gotten three or four different vegetables on an almost continual basis from early spring into very late fall or early winter. If you are able to provide some cold weather protection or season extension for the bed, such as a plastic sheet row cover supported on PVC hoops, you can easily extend that season by a couple of weeks on the spring side and a month on the fall or winter side.
In some climates, just that one simple addition will give you the ability to grow year-round, with spinach, Swiss chard and kale rounding out the slower growing and colder winter.
Another example would be early spring spinach and lettuce, followed by bush snap beans, then fall beets. Or early season carrots can be followed by snap beans during the warmer months with radishes in the fall.
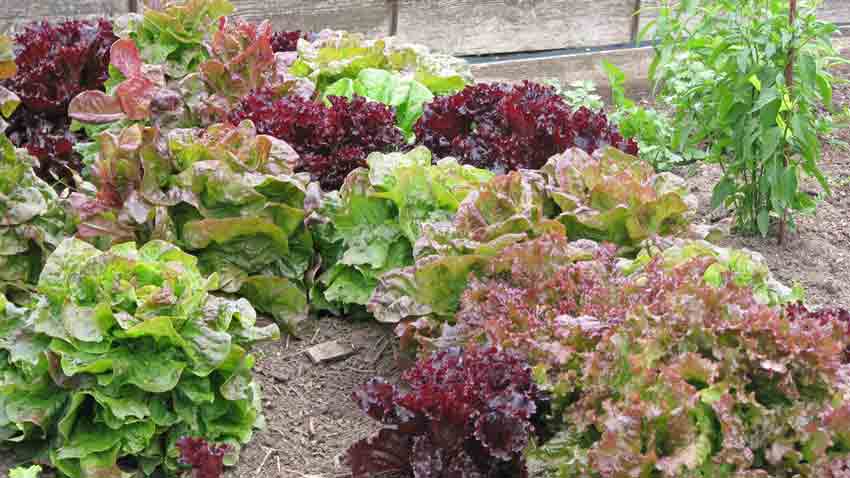
Succession planting on left and intercropping lettuces on right.
These varieties should be planted early – small beets and beet greens, young cabbage, carrots, cauliflower, kohlrabi, lettuce, green onions, peas, radishes, spinach, and turnips; as these are all cool-weather crops. They can be followed by warm-weather crops such as beans, melons, squash and transplants of eggplant, peppers and tomatoes. The warm-weather crops can then be followed by another planting of your favorite cool-weather crops which will mature in the fall.
Any succession can be made that allows crops to reach maturity within the growing season. Swiss chard, Chinese cabbage, collards, corn salad, endive, kale, leeks, lettuce, and mustard are cool-season crops that can follow warm-season crops for late autumn and winter harvest.
What Intercropping Is and How to Use It
Another technique to grow more from the same amount of garden space is called intercropping or interplanting. This makes use of faster maturing varieties planted alongside slower maturing ones. Both are planted at the same time, with the fast growing vegetables being pulled and eaten before they interfere with the slower growing ones. This makes greatly efficient use of a smaller garden space and can double or triple the amount of food grown on the same space.
Quick-maturing crops include: radishes, leaf lettuce, green bunching onions, turnips, and mustard greens. These crops usually mature in 60 days or less from sowing to harvest.
Slower or long-maturing crops include tomatoes, corn, squash, cabbage, eggplant, and peppers. These crops require more than 60 days from sowing until harvest, often 90 days or more.
When planning to intercrop a garden bed, pay particular attention to the days to maturity on the web site and description.
Here is a simple step-by-step guide to succession crop planning:
- Make a list of what you want to grow.
- Know the number of days in your growing season, which is the approximate number of days between the last usual frost in spring and the first usual frost in fall. If you don’t know this information, refer to the First and Last Frost Dates Tool, and read our Planning and Planting Your Spring Garden article. Determine if the growing season is long enough to grow the crop you have in mind? Is the winter mild enough to over-winter hardy crops with or without weather protection?
- Know the number of days to maturity for each variety you plan to grow; both how much time short and long season crops need.
- Decide if you need to extend the growing season in spring or fall with weather protection such as cloches, floating row covers, plastic tunnels, or cold frames.
- Make a map of the garden beds for the beginning, middle, and end of the growing season: what spaces will be vacant when. Use a separate map for early, middle and late season so you don’t get confused with trying to detail too much on one map.
- Start small and be flexible: inexperience, soil and air temperatures, the weather, pests, diseases, and other unforeseen events may alter your plans. It is much easier to try mapping and succession planting one bed this season to get the experience, be successful and enjoy the process than to try all of the beds and get frustrated.
Intercropping has three main advantages compared to only growing one variety at a time in a garden bed. First, this method allows you to squeeze two, three or more beds of vegetables into one, without detriment. Something as simple as a bed of carrots with a trellis of cucumbers down the middle makes a big difference in the amount of food grown. Learn to think vertically as well as width and length of the garden bed.
The second advantage is with a bit of planning, plants can benefit and protect each other. Even passive protection such as a better microclimate under the plant leaf canopy can deter destructive pests. If you plant varieties of vegetables, herbs and flowers which are actively beneficial to each other, then you’ve just stepped everything up a notch!
The third advantage is a dense plant cover or canopy, creating a more beneficial and stable microclimate for the soil and micro-organisms in it. The moisture levels will be more consistent, needing less amount of water less frequently while keeping temperatures more stable, reducing stresses on the plants and their moisture transport systems.

Intercropping kale and Swiss chard in a container.
A word of caution here – plants do not like to be crowded or spaced too closely together to where they begin to compete for resources such as moisture, nutrients or light. Start small and add one crop to this year’s planned garden bed, not trying to squeeze all four in the first season. Once some experience is gained, then add more and in a year or two the garden bed might look like the following!
In his book “The Winter Harvest Handbook”, Eliot Coleman talks about the French market growers around Paris would sow an early spring hotbed with a mixture of radish and carrot seed by broadcasting the seed by hand. Lettuce seedlings would be immediately transplanted into the bed.
The radishes would mature first and be harvested, giving room for the carrots growing between the lettuces. The carrot tops would grow above the young lettuces until the lettuce matured and were harvested, leaving more room for the carrots. Once the lettuce was harvested, cauliflower starts were transplanted into the bed. Once the carrots were harvested, the cauliflower was alone until it was harvested and the bed made ready for the next set of crops.
Using this example, four crops of significant amounts are harvested from one bed during a single season. The bed wasn’t allowed to be idle after that season either, it had a fresh thick layer of well-aged compost applied and worked in, then it was re-seeded with a different mixture of seeds and transplants. Given this example of cool season crops being planted, the next set was probably warm season varieties such as beans, cucumbers, squash, Swiss chard, melons and bunching onions with transplants of tomatoes, peppers and eggplant.
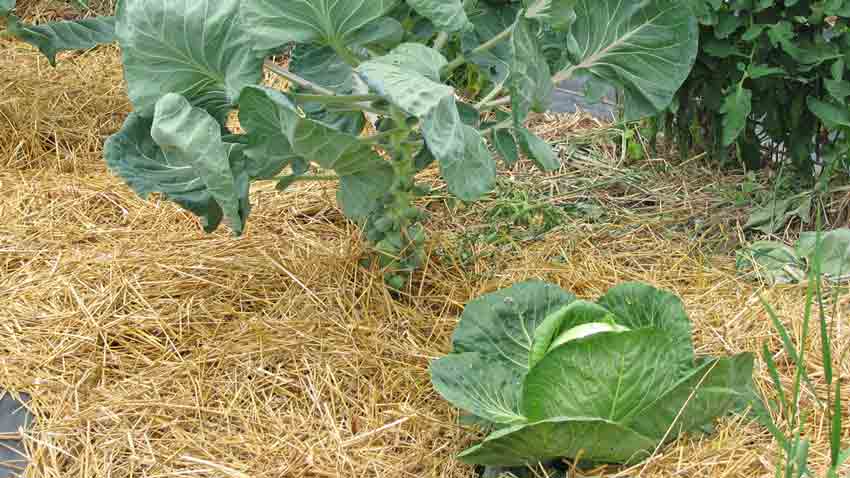
Fall intercropping – tomatoes finishing with cabbage and Brussels sprouts
With all of these positive, productive examples, there are a couple of things to realize at this point.
One, becoming successful at intensive intercropping and succession planting takes some skill and experience. Gaining that skill and experience requires making some mistakes, learning from them and documenting what was planted when in a Garden Journal for future reference.
While the explanation of intensive planting is easy to understand and we’ve shared a number of successful examples, what will ultimately work in your particular garden depends on several factors which are very possibly quite different than ours.
Two, managing a very intensively planted garden will give abundant yields of vegetables but will require more thought, planning and time in the garden initially during planting and again during the harvest when significantly larger amounts of crops are hitting the kitchen counter and dining room table. There will simply be much more food needing attention than before.
This leads to the need for skills and knowledge in preserving the gardens bounty through freezing, canning, dehydrating, fermenting and pickling. Of course, the consequence of this course of action is having much more food on hand and the inescapable sense of accomplishment when the realization strikes that there are several months’ worth of home-grown, delicious food put away.
Perhaps this is how one garden can change the world! Or maybe it should be one garden at a time…


 2019 Terroir Seeds


Leave a Reply
Want to join the discussion?Feel free to contribute!