Real, traditional mayonnaise has only five simple ingredients but is rarely made fresh, which is truly a shame. Discover how to make fresh delicious mayonnaise in 30 seconds with our recipe, and don’t worry about running out of the store-bought stuff ever again! Once you’ve tasted what real, fresh, homemade mayo is all about and explore the flavor variations, you’ll wonder why you didn’t ditch the jar sooner.
Fresh Food Warning
Unfortunately in today’s world of industrial, factory farmed foods, we must let you know that there is a risk of illness if using commercially produced eggs. That’s why we strongly recommend using fresh eggs from your own or a friend’s backyard chickens or ducks – you know exactly what conditions the eggs come from! Fresh farmer’s market eggs from a producer you know and trust is a good second choice, with certified organic eggs from a store being a third one.
What to do with all these eggs?
More often than not, if you, your neighbor or a friend have chickens or ducks in the backyard, sooner or later you’ll wind up with a surplus of eggs. There are lots of ways to use excess eggs, but we’ll show you one approach that will make your taste buds sit up and sing!

Duck Eggs for Mayonnaise
Here’s a peek into our egg basket after a normal spring morning of collecting duck eggs. We currently have Khaki Campbells and are expecting Welsh Halequins, both of which are excellent layers with great tasting eggs and no gamey flavors.
We’ll walk through the process after the recipe:

- 1 1/2 tsp red or white wine vinegar
- 1 tbsp Dijon mustard
- 1/2 tsp sea salt
- 1 egg - fresh is essential for flavor a second may be needed
- 1 1/2 cups high quality oil - avocado sunflower, canola, olive are all good
- Finely chopped herbs of your choice - optional
-
Add ingredients into immersion blender cup in order listed.
-
Lower immersion blender into bottom of cup.
-
Puree for 3 seconds at bottom, then slowly bring to top while blending and emulsifying the oil - about 15 - 20 seconds.
-
If mayonnaise is too thin, remove blender and add second egg. Repeat blending from bottom to top of cup.
-
Once desired consistency is reached, add chopped herbs or spices and blend for 5 - 10 seconds.
-
Store in a glass container and refrigerate for up to one month.
Making Mayonnaise the Easy Way
Start with gathering all of the ingredients – for the mayonnaise you’ll need eggs, a high quality oil, vinegar, salt and mustard. No emulsifiers, preservatives, thickening agents or ingredients you cannot easily pronounce. You can start with the very basic – and classic – version without herbs or spices and then expand your tastes as you like. Or, if you are a bit more adventurous and want more flavor than what comes out of a jar, then try some fresh herbs from your garden, or a dried herb mixture such as Herbes de Provence!
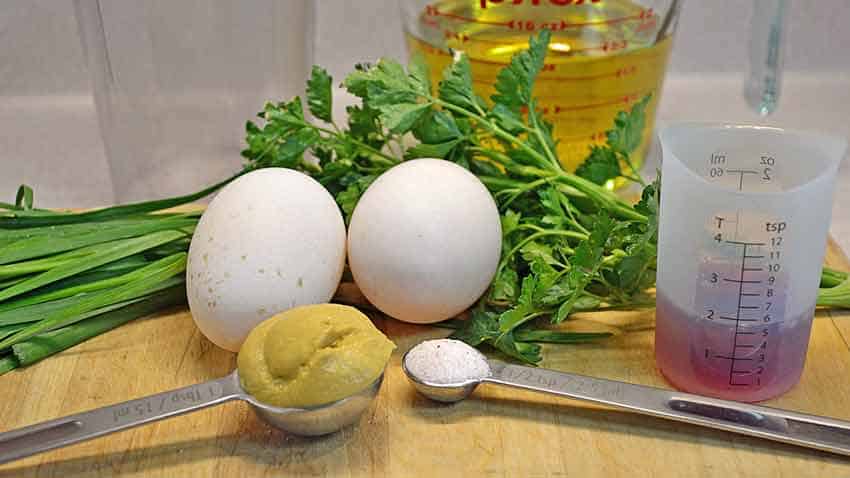
Homemade Mayonnaise Ingredients
We chose to add garlic chives and parsley to our mayonnaise, simply because they were both growing vigorously in our container herb planters and were close at hand.

Adding Red Wine Vinegar
Red wine vinegar was our choice for the flavor, but white wine vinegar or apple cider vinegar are also great choices. Each will have a different flavor, so you can experiment and see what you like best! You might find you have a favorite mayonnaise for certain foods, and another recipe for others.
Adding Dijon Mustard
Dijon mustard is next, and the same advice applies. Test different mustards for their textures, flavors and aromas they contribute to the finished mayonnaise and decide what you like!

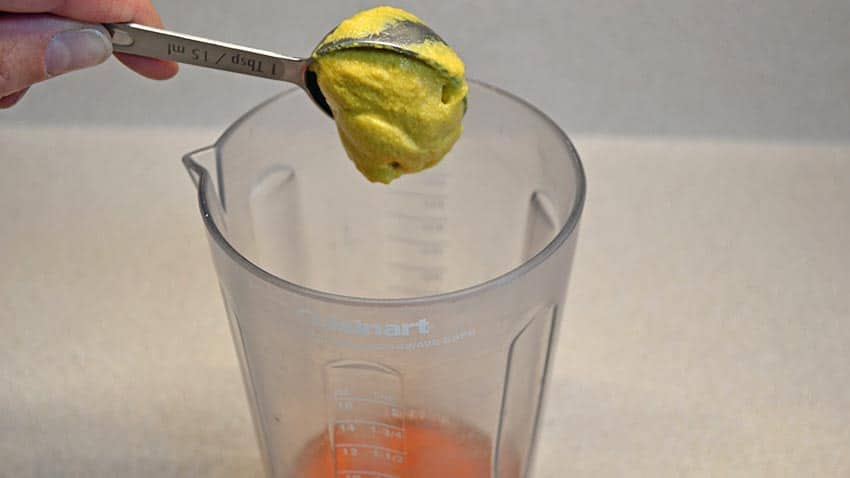
A Little Sea Salt
We use a Himalayan pink salt, but there are several different sea salts or RealSalt from Utah that would be good. A natural salt contributes a better flavor.
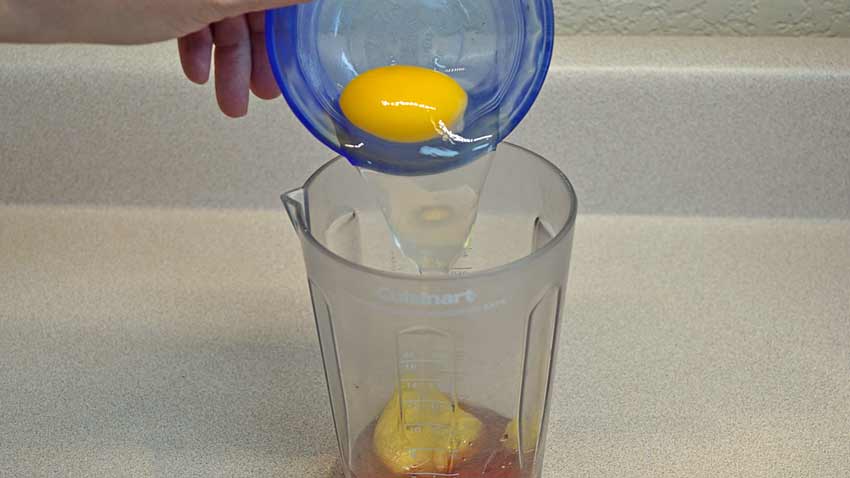
A Fresh Duck Egg
Next in is the duck egg, or chicken egg. Make sure to have a second one in reserve – we’ll show you why in just a minute! Different types of eggs will have different flavors, so if you have chickens you might try a duck egg mayonnaise, or vice versa.
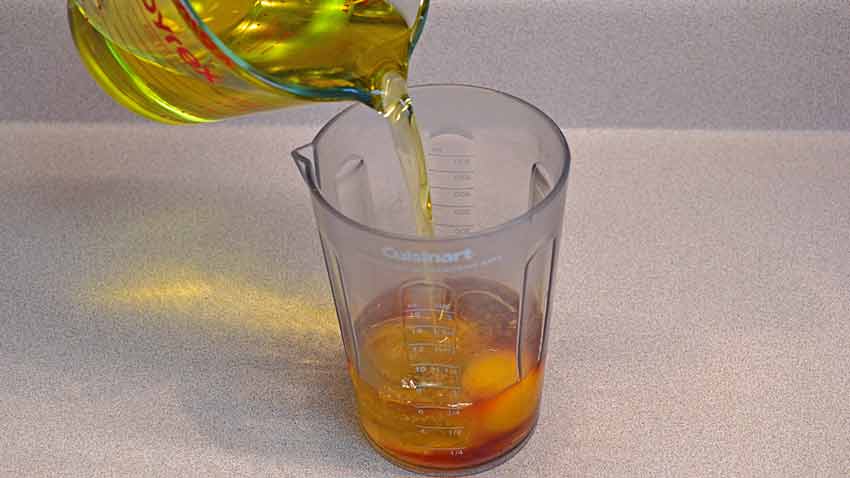
Avocado Oil
Avocado oil is what we used in this recipe as it has a nice mellow flavor that supports but doesn’t dominate the mayonnaise. Again, do some testing and try different oils to see what you and your family like.

Ready to Blend
You’ll notice this is taking place in a simple Cuisinart immersion blender cup. This is the secret to the 30 seconds, as it does away with the dribbling oil into a blender or food processor. You simply add the ingredients…

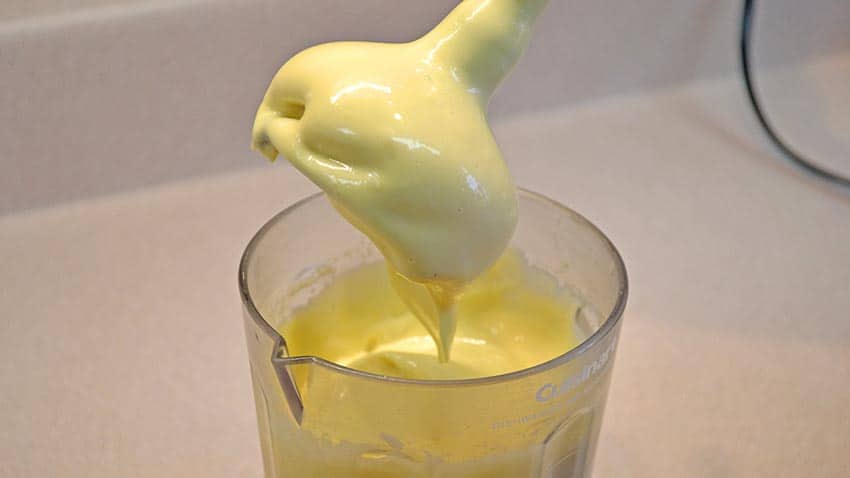
Blending the Mayo
…and insert the immersion blender all the way to the bottom of the cup before turning it on. Ours has two speeds, so I will start the process on low to puree the egg and solids at the bottom for 3 – 5 seconds, then switch to high as I slowly pull it upwards. You’ll see the emulsification process taking place as the blender works its way upwards.

Mayonnaise too Thin?
If you get to the top of the cup and see the mayonnaise is too thin for your liking – don’t worry! Set the blender aside and add that second egg. It will go to the bottom, so repeat the blender at the bottom on low, switching to high as you pull it upwards. You’ll see the same process taking place, but the mayonnaise will be much thicker this time.
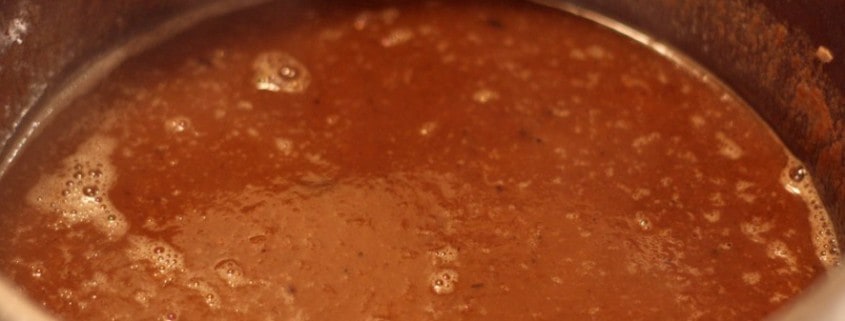
Thick European Style Mayonnaise
This is what the difference the second egg makes. This reminds me of the fresh made mayonnaise I used to enjoy in Belgium with fresh hot french fries, lightly salted and sprinkled with paprika. In much of Europe, french fries (called frites) are mostly eaten with fresh mayonnaise as a dipping sauce, or with mustard. Ketchup was unusual, and a sure sign that you are a foreigner!
I quickly came to realize the perfect marriage of flavors of the fresh mayonnaise and hot, slightly salty fries.

Chopping Fresh Herbs
The garlic chives are fairly finely chopped, along with the parsley. I wanted a bit more of a chunky texture, but you can make it smoother with a more finely diced or minced herb mixture.
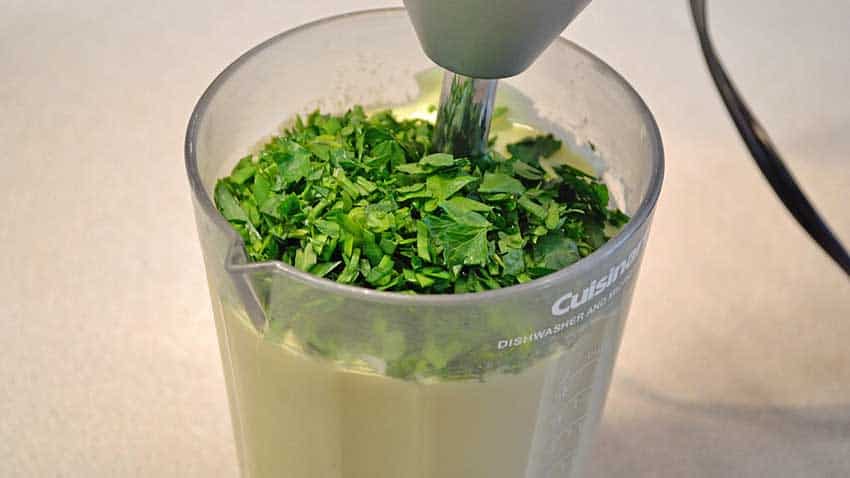
Blending Fresh Herbs
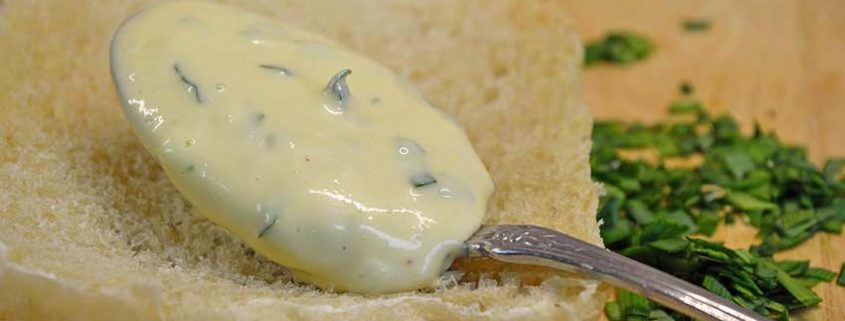
The herbs are added and the blender does its magic again!

The result is a creamy, thick and luscious mayonnaise with an aroma and flavor that you will love! After a taste or two, you will understand the vast difference in flavors from this to the store-bought varieties.
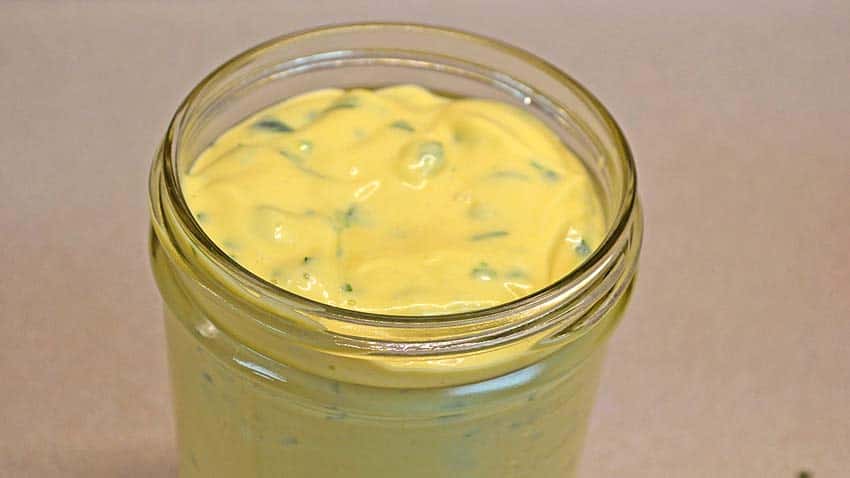
Glass Jar Storage
To store, simply scoop into a glass jar. The recipe above will yield enough for a pint plus a little bit more for tasting. Store in the refrigerator for up to a month, but we’ve never had it last nearly that long!
As easy as it is to make, whip up a couple of different versions for sandwiches, or for french fries, or to add on top of a steak – try olive oil and rosemary for that one!
Once you make a couple of versions, let us know which one you like best and what you use it for in the comments below!