The More You Know – the Better You Grow
Growing peppers seems to come naturally for some gardeners, while others always seem to struggle. Sometimes this stems from easily-avoided mistakes or accepting certain myths or misinformation as correct.
Today we’re looking at the basics of growing peppers in your home garden and some mistakes and myths to be aware of and avoid. You might look at this as a how-not-to guide because occasionally it’s just easier showing what not to do than describing and explaining the right way. Plus, seeing other’s mistakes sometimes sinks in faster.
These are our observations from our 20+ years of gardening combined with the past 10 years of gardening questions we’ve answered.
Conditions
The initial conditions you choose are critical to sprouting, transplanting and growing success, no matter what seed you are planting. Here are some things to consider as you grow your peppers this season.
Chocolate Mini Bell Peppers
Starting Seeds
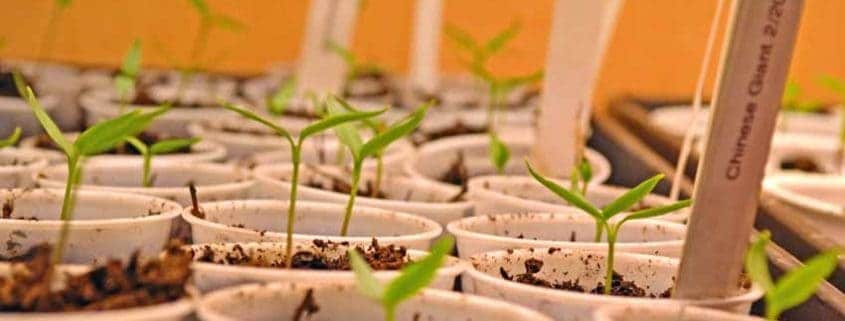
- Pepper seed germination – even under optimum conditions – is often slow and erratic. Don’t compare your tomato seed germination with peppers and think they aren’t performing as they should.
- Tomatoes can sprout in 3 – 5 days in ideal conditions, while peppers might take 14 to 21 days. This is normal, be patient, and don’t worry!
- The two most common problems in pepper seed germination for home gardeners is soil that is too cool and not moist enough.
- Use any readily available thermometer that will accurately read in the 60° to 100°F range and insert it an inch into the soil. If it’s 80° or above, you should have good success. Soil temperature below 75° can delay seed germination by 3 weeks or more!
- An easy way to determine soil moisture is by touching the surface of the soil with your finger – it should be damp to slightly wet where you touched the soil, and you can feel the moisture when you rub your fingers together. If not, it’s a little too dry.
- A good rule of thumb for germinating pepper seeds is warm, moist soil – meaning 80° – 90°F – watered from above with warm water.
- This will consistently give you better germination on all pepper seeds – sweet or hot. Maintain the soil temperature with heat mats or placing the seedling flats in a consistently warm area such as on top of a freezer or refrigerator. Warm water from above minimizes the cooling effect on the soil as opposed to bottom watering during sprouting. Once the seedlings have sprouted, switch to bottom watering to minimize mold and fungus issues.
Alma Paprika Pepper
Transplanting
- Young seedlings need to be conditioned or prepared for the outside garden environment, or they will suffer greatly or die. Seedlings are tender with soft tissues, sensitive leaves, and small root systems. They aren’t ready to be plopped into the early spring garden without hardening off, sort of like a boot camp or physical conditioning program. This usually takes about 2 weeks of setting the seedlings outside for short periods and going longer as they toughen up.
- The ideal transplanting day is warm soil with cloud cover and little to no breeze. Seedlings need warm and moist soil, much like they have before transplanting. Give them a drink of water immediately after transplanting to help avoid shock.
- The biggest issues with transplanting are soil that is too cold, too dry (or too wet) or the seedlings are still too tender and need more hardening off. It’s better to wait a few days to a week than jump the gun, transplant too early and lose your hard work.
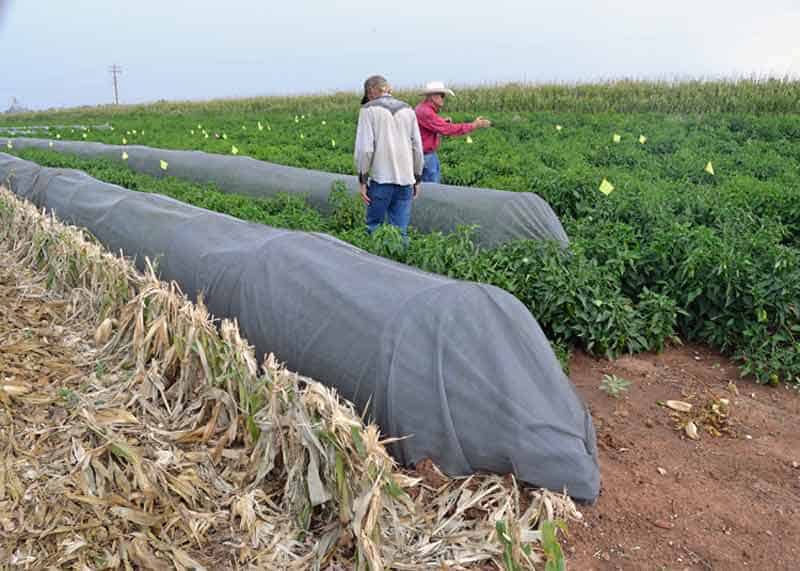
- Peppers like to be close, but not too close. 18 inch spacing between plants is a good start – smaller plants can be planted a foot apart, while larger ones will need 18-24 inches. You want the plants to grow a good leaf canopy that shades the fruit from sunscald while not competing with each other and becoming leggy or spindly.
Serrano Peppers
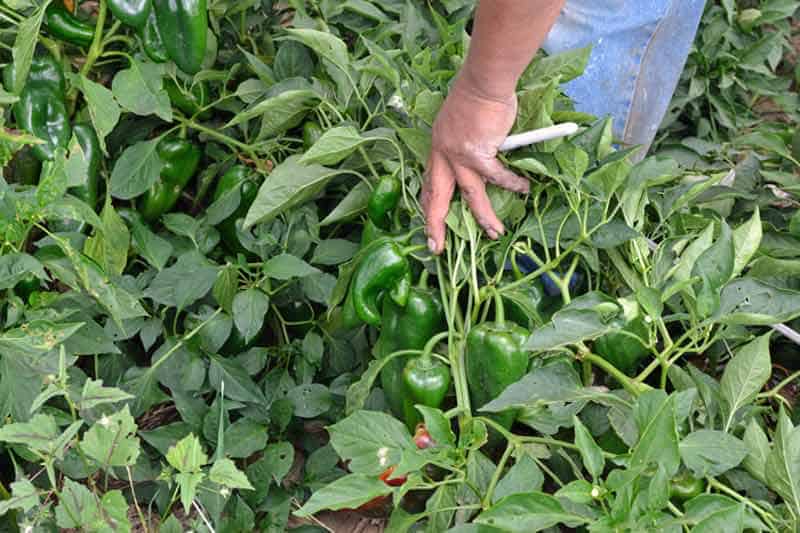
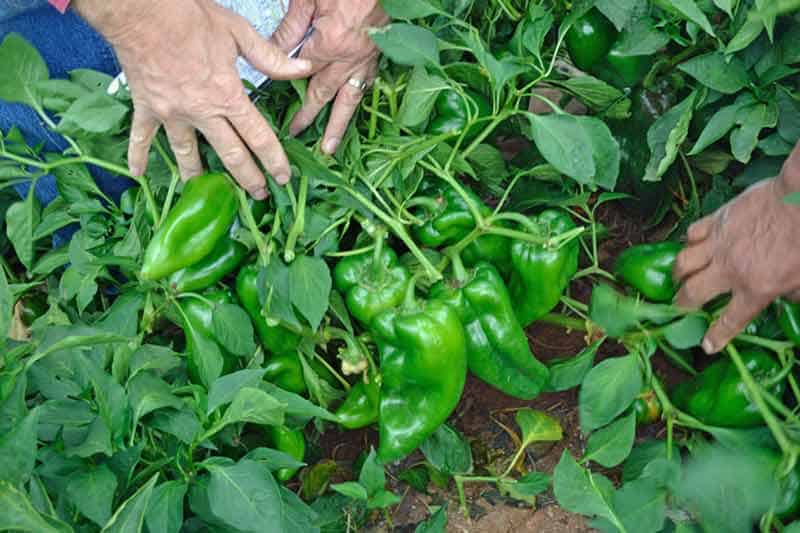
Growing
- To keep your sweet peppers sweet, don’t plant them close to your hot ones; they will readily cross-pollinate and you’ll have extremely hot sweet peppers! We learned this one summer when we had Jalapenos upwind of our bell peppers. The unexpected bite of a fiery bell shocked us; we later taste-tested and found the bell peppers were hotter than the Jalapenos.
- Giving your peppers some space is the best solution – distance minimizes the chance of hot pepper pollen finding your sweet pepper’s flower, either by wind or pollinators. Seed growers isolate peppers by 1,500 feet, but if we’ve found planting sweets 50 feet or more upwind of the prevailing breeze is pretty dependable. Peppers also grow well in containers or large pots, so you can grow them well away from the garden if needed.
- Peppers produce best with moderate temperatures, although they can tolerate warmer days if it cools off at night.
- Much like tomatoes, the key to getting big harvests is night-time temperatures. Peppers set the most flowers – thus the most fruit – between 65° and 80°F at night. Above about 86°F the blossoms drop off, costing you precious peppers. High winds, lack of pollinators and excessive nitrogen – such as with synthetic fertilizers – also cause blossom drop.
- Sustained daytime temperatures above 95°F causes the pollen to become sterile with lower harvests. Shading the peppers also reduces sunscald and the loss of immature pods from heat stress. Sunscald happens when leaves don’t protect ripening peppers from the sun and they get a sunburned appearance.
- Pod drop happens when immature pepper pods drop off the plant, most often caused by high heat combined with water stress or excessive nitrogen fertilizer. Shade cloth reduces the heat, and a drip system on a timer moderates the moisture and avoids large swings that stress the plant, causing it to shed pepper pods. Consistent moisture is best for healthy growth – not just with peppers – and avoids the soil getting too dry between waterings.
- A good layer of straw mulch also maintains soil moisture levels between watering. We’ve found mulch reduces the amount of time our drip system is on, by cutting down the amount of water that is lost to evaporation.
- Peppers, along with most vegetables, like rich, well-balanced, and fertile soil to grow in. Too much of any one thing can be detrimental, and too much nitrogen leads to exuberant leaf and flower growth with little to no fruit set – most often seen in peppers and tomatoes. There aren’t enough other nutrients to support the fruit growth from all of those flowers.
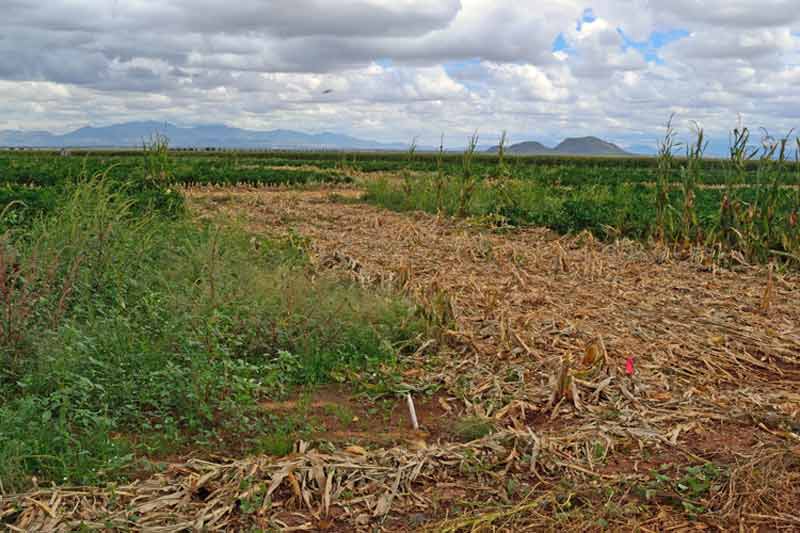
- Rotating beds where you grow peppers every year helps prevent many diseases and over-wintered bugs from attacking. Good soil fertility is the best prevention.
- Blossom end rot in peppers is much the same as in tomatoes, caused mainly by a lack of available calcium in the plant as it starts setting fruit – often large amounts of fruit at the same time. It can also be caused by large fluctuations in soil moisture, such as forgetting to water or a rain after it’s gotten dry. The usual suspect – excess nitrogen – also plays a part here.
- Feeding the plants with a 20% solution of milk – 2 cups of milk in 8 cups of water – with a teaspoon of molasses gives the plants a boost in calcium and much-needed sugars for fruit production. Give each plant a cup of the solution once a week until the new fruit starts setting, then twice a month during heavy production.
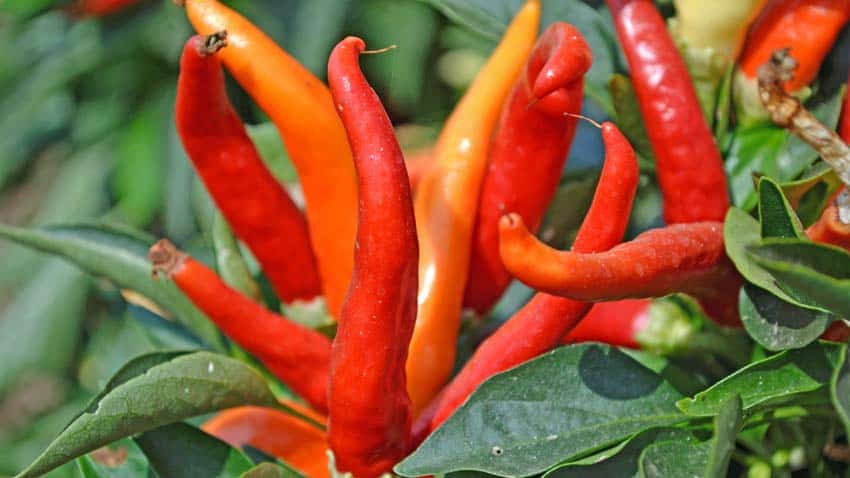
Line of Capsaicin
Harvesting and Handling
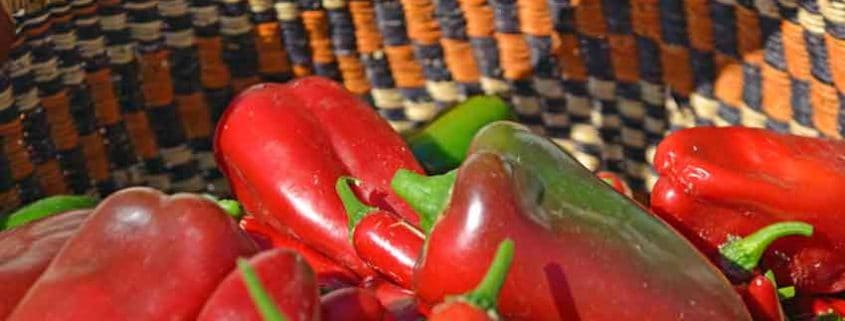
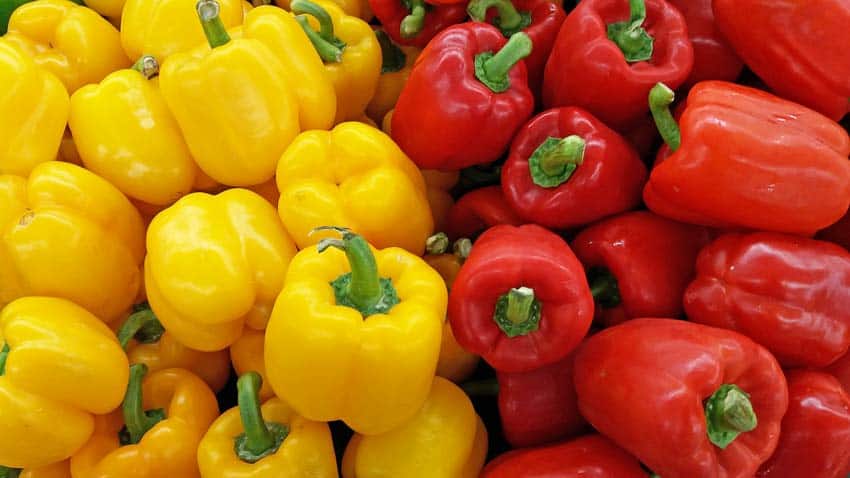
- Almost all peppers go through several colors before ripening to maturity – both in color and flavor. The green stage is usually the least flavorful and sweet, but sometimes the spiciest and a bit bitter. As it ripens through yellow, orange and into red, the flavors become richer and deeper, with the sweetness developing and the heat mellowing. Try picking your peppers at all of the stages to see what you like best!
- A good rule of thumb for picking is if the pepper is easily removed from the stem, it’s ready. If you have to pull or tug on the pod, it’s still too early.
- This changes, of course, if you are harvesting continuously to increase the harvest – you’ll be removing slightly young peppers. In this case, it’s best to cut the peppers off the stem to avoid damaging the plant by pulling, as the stem will usually break before the stem does.
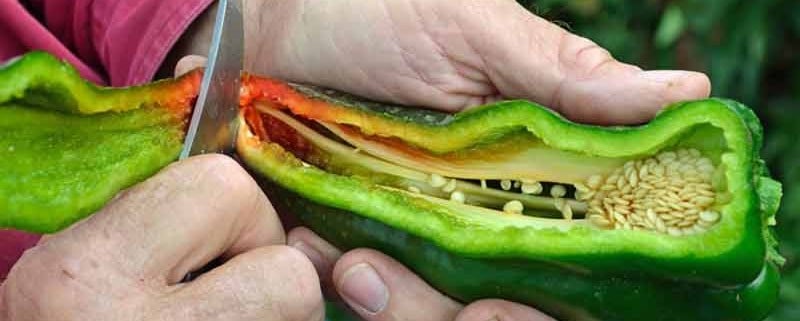
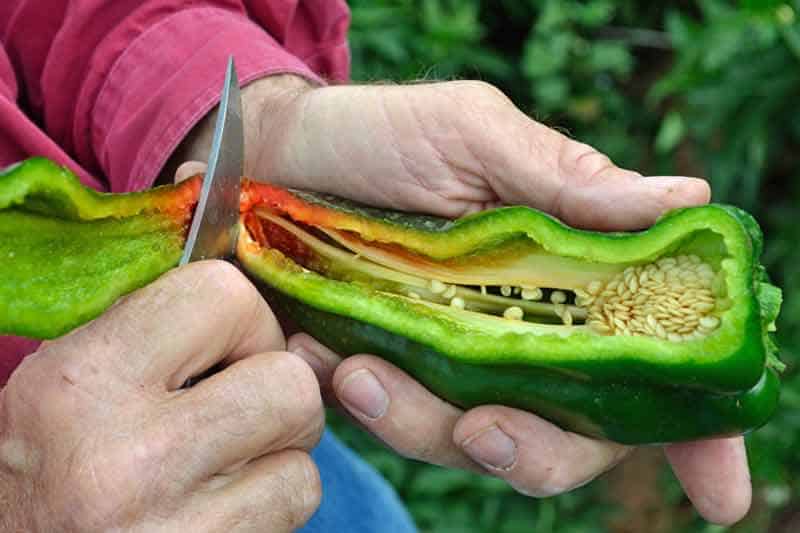
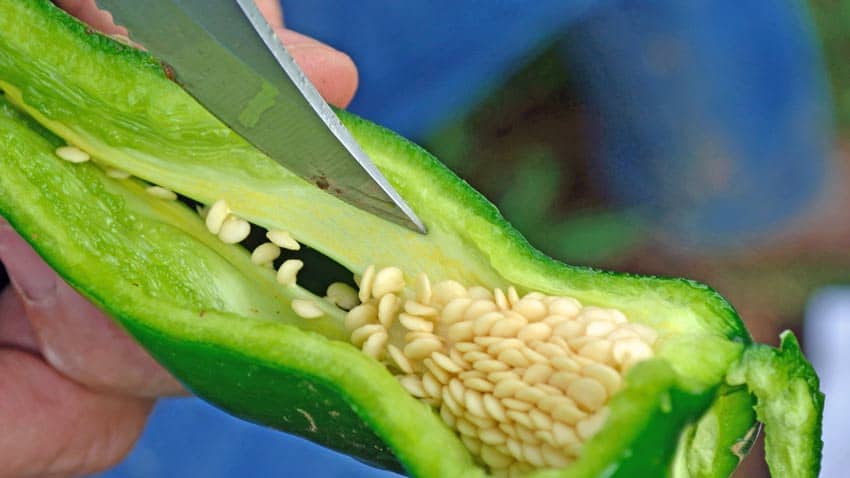
- Capsaicin – the “heat” in peppers – is located on the ribs and seeds. If you look closely, you’ll see tiny yellow dots on the ribs – this is the pure form and is concentrated. If you prick one of these dots, you’ll feel it’s effects – sneezing, runny nose and itchy, watery eyes. Avoid touching it with bare skin to prevent spreading it to your face, eyes, etc.
- Some otherwise sweet peppers have a hot streak on the ribs and seeds, so now you know how to handle them.
- Some people are simply extremely sensitive, no matter how mild!
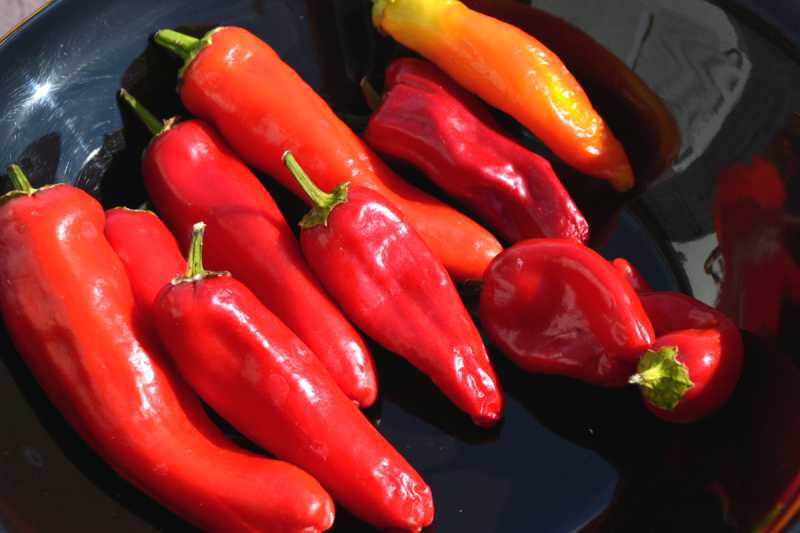
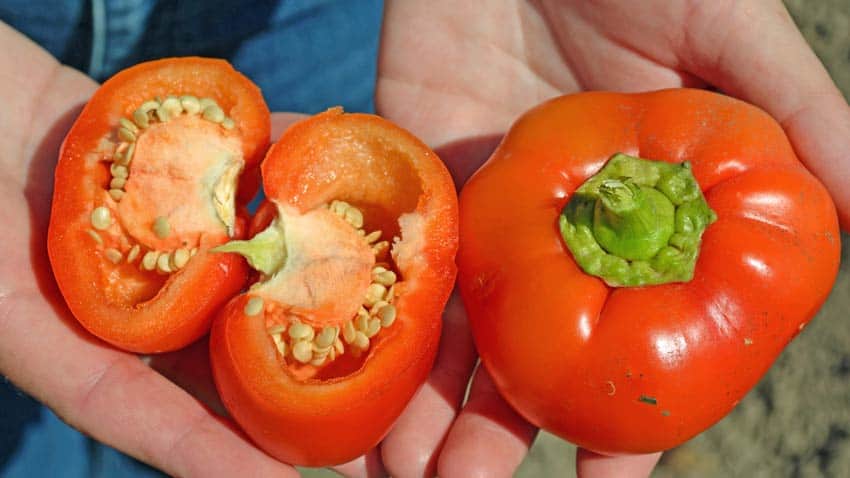
Red and Yellow Bell Peppers
Myths
One of the biggest myths we’ve seen is the one that the different number of lobes on a bell pepper determines it’s sex – such as “3 lobes means it’s female and sweeter, 4 lobes is male and hotter”…
- First – peppers, like tomatoes, are “perfect” flowers, meaning they have both male and female organs in the same flower and can self-pollinate.
- Second off – and this is common sense – if this was true, you would need to buy “male” and “female” pepper seeds for reproduction, right? After all, if 3 lobes are “female” and 4 lobes are “male”, it stands to reason they would produce the same sex seeds, thus the need for male and female seeds to be planted close to each other.
- So, where have you seen “male” or “female” pepper seeds for sale? Or maybe we should capture that market share?
Another myth is that all red peppers are hot, while green peppers are sweet.
- This most likely arises from people only seeing green bell peppers in the supermarket, and not realizing that they ripen into different shades of yellow, orange, or red and are still sweet.
- The fallacy is easily seen with both bell peppers and Jalapeños are both green on store shelves!
Your Tips?
What are your proven, never-fail tips for growing the best peppers? Share your experiences below so we can all grow better peppers!
Resources to learn more