
Direct Sowing Your Garden Successfully
When to Direct Sow
Direct sowing can be done almost any time of the year – in early to late spring for the summer garden, mid to late fall for the cool season garden, as well as succession planting a row after a crop has been harvested to grow something else delicious!
Direct sowing simply means planting the seeds directly into the garden soil, instead of starting them inside, nurturing and then transplanting into the garden once they are several weeks old and several inches tall.
If you are in doubt as to when your last frost date is, read Planning and Planting Your Spring Garden.
For more on cool season gardening, read How to Plan for Fall and Winter Gardening.
To discover how succession planting can help you grow more, read Succession Planting – Boosting Garden Production.
Some gardeners think they have no “luck” when it comes to direct sowing certain vegetables, while others are hesitant to try again after past challenges or outright failures. Inexperienced gardeners sometimes think their lack of experience dooms them to failure.
The root causes of most challenges, problems or outright failures can be traced to a shortage of good information, incomplete understanding of seed germination and a lack of patience.
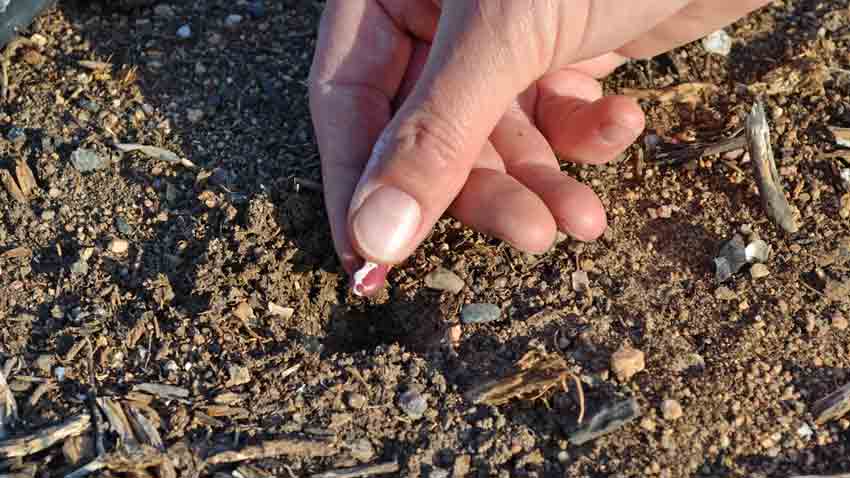
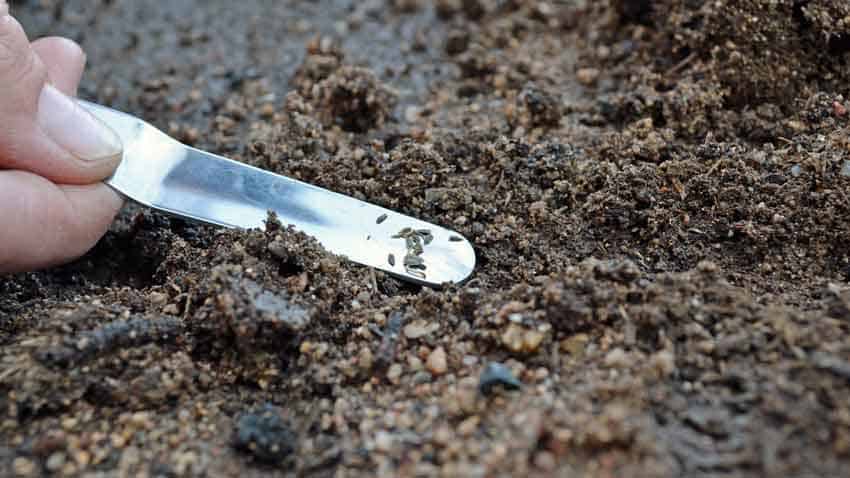
Direct Sowing Lemongrass Seed
All of these can be overcome, and we’ll show you how!
At its most basic, direct sowing is simply inserting a seed into the garden soil so it can grow. There are factors which affect how successful the results are, but they are easily understood so you can set yourself up for success by using them.
There are three main parts to direct sowing – preparation, sowing and care.
1. Preparation
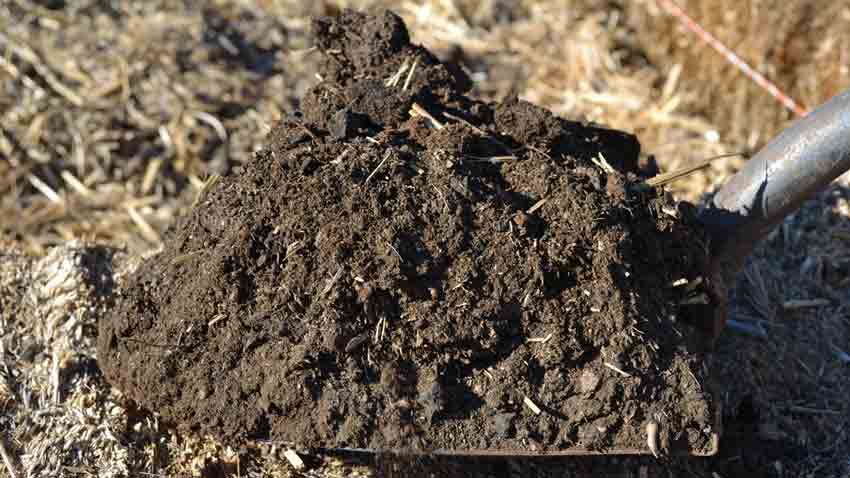
Well Aged Compost
Amend the soil
Soil or bed preparation sets the stage for the seed and is usually done a couple of weeks to a month before direct sowing. This includes amending the soil with well-aged compost, minerals, fish emulsion, milk and molasses or anything else the soil needs.
“Amending” means to add the nutrients to the soil, then work them in with a garden fork or roto-tiller. If using a roto-tiller, make sure it is set to a shallow depth to avoid disrupting too many of the soil layers and the micro-organisms that live in those layers.
A comprehensive soil analysis can be extremely valuable here, as you’ll know exactly what the soil needs to be at its best. A simpler approach is to add the commonly used nutrients mentioned above and closely observe the plants to see if they are showing a lack of specific nutrients.
Weed the beds
After amending the soil, wait a few days for the first weeds to sprout, then remove them with a small hoe just below the surface of the soil. Weeds thrive in disturbed soil, so you won’t wait long!
When the weeds have just sprouted, they will have released a very potent plant hormonal signal – called auxins – into the soil, signaling all of the other weed seeds to remain dormant. The soil has a tremendous amount of weed seeds in it, just waiting for the right conditions to sprout, and the first weeds up send this signal to keep other weed species from competing with them. This hormone lasts from 4 – 6 weeks, giving you a head-start with little competition for the seeds you want to grow!
Weeds have the most serious effect on garden production during the first week to ten days after sprouting – this is why it is so important to spend more energy and time up front in weeding than it is later in the season.
After your seedlings have sprouted, they add their own particular auxins to the soil, inhibiting other seeds from germinating for another couple of weeks. After the garden crop is a foot tall, weeds have much less affect on their growth and can’t as easily out-compete for water and soil nutrition.
Yet another way is to use a flame weeder to kill the young weeds, while damaging the uppermost, soon to germinate weed seeds in wait. No hoe is used and this method is quite fast.
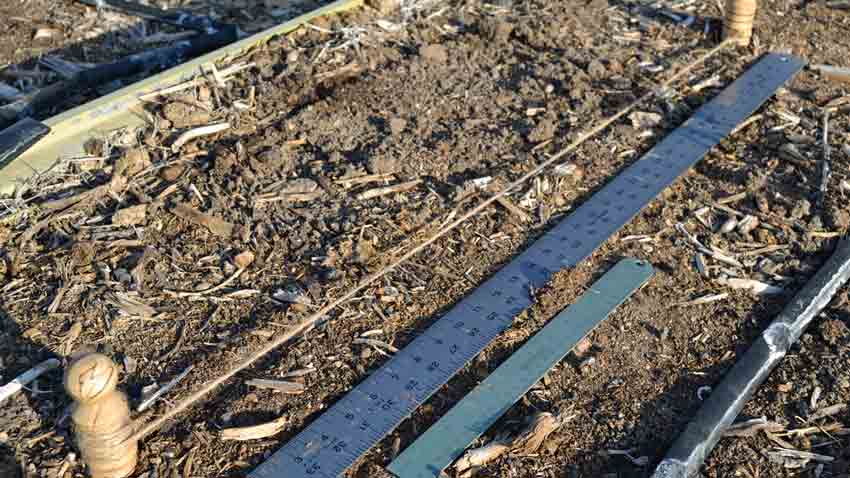
Row Marking Tools for Direct Sowing
Layout the bed
Some gardeners prefer to create furrows to sow their seeds in, while others use a garden row marker – two pegs with string attached – to lay out where they will direct sow their seeds.
There are several different approaches, and there is no one “right” way. If you are growing a smaller garden a row marker makes it easier to plant seeds closer together than creating rows. It’s also easier to do succession planting closer together with a row marker, as you plant the seeds along the line of the string without trying to open and then close a furrow and not disturb neighboring seeds or young plants.
2. Sowing the seeds
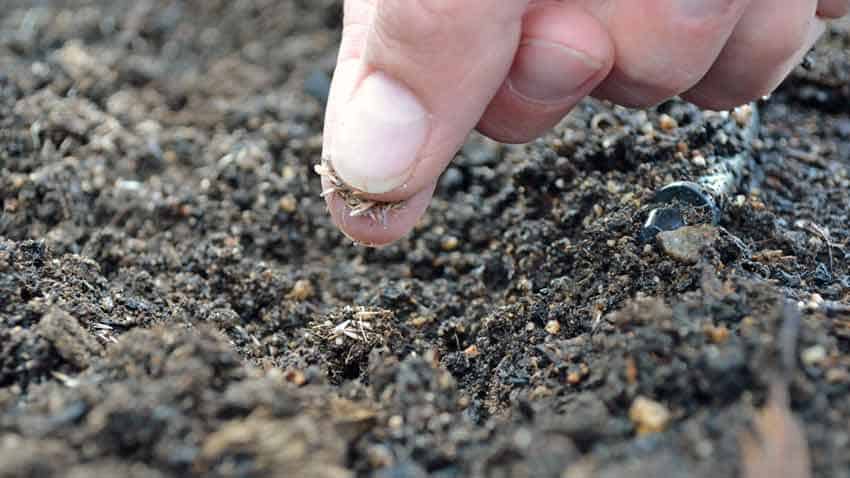
Direct Sowing Basil Seed with a Widger
Direct Sowing
Before direct sowing your seeds, consider how the vegetable will grow and be used. If you will be harvesting the entire crop for young greens, then plant fairly close together, as you want the most production possible. If the plant will be harvested regularly and allowed to mature, like leaf lettuce, spinach, kale or leafy broccoli, then give a little more space for the plant to mature without crowding.
Water the soil the day before planting to make sure it is properly moist to start the germination process.
Read the spacing recommendations on the back of the seed packets as a good starting point. If in doubt, plant two seeds at a time to ensure the best growth, as you can always thin once the seedlings are up. When thinning, never pull the seedlings out as this seriously disturbs the roots of the neighboring seedling – just snip off the unwanted seedling with a pair of small scissors.
One of the more important things in planting any seeds is to be aware of the proper depth to sow them. An excellent rule of thumb is no more then 2 – 3 times their diameter.
Seed orientation is also an overlooked, but equally important thing to be aware of when sowing. The radicle – or part of the seed that was attached to and fed by the plant or fruit – should be planted pointing down, as this is where the root will emerge from. Corn, pumpkin and squash are easy to see – just plant the pointed end down. Smaller or more rounded seeds don’t matter as much, as there is equal distance all around.
After sowing, gently press the seeds into the soil for small seeds, or press the soil on top for larger seeds. This allows for better moisture transfer to the seeds as they start the germination process.

Direct Sowing Okra Seed
Water the seeds
After sowing, give the seeds a good drink. Make sure the soil is well moistened on the first watering, then wait about 24 – 48 hours to water again, depending on your climate. The most common mistake all gardeners of any experience do is to over-water the garden.
It’s simply a human trait to want to make sure the garden is watered!
Seeds need three things to germinate – moisture, temperature and light once they are up.
The soil moisture needs to be very damp initially, then slowly decreased after the seeds sprout until it is slightly moist. You won’t have much control over the temperature unless you can provide some weather protection such as a plastic row cover or black plastic on the soil a week before planting to warm it up. Light is needed once the seedlings are up, but the sun will take care of that!
3. Care after sowing
After sowing care is pretty simple, but needs to be well-attended during the first month after the seeds start sprouting. Care can be split into three areas – weeding, re-sowing and weather protection.

Handmade Garden Row Marker
Weeding
Keeping your emerging seedlings free from weeds when they are young will give them a serious boost, as young weeds can effortlessly out-compete your vegetables for needed nutrients and water. This severely limits their future growth, strength and production.
Removing young weeds is very easy, especially if using a sharp, thin hoe to slice them just under the surface of the soil. If you’ve allowed the initial crop to sprout and then removed them, you should have less weed pressure to worry about, but still keep on top of them!
Make sure to distinguish between the weeds and what you planted. If in doubt, wait a few days to see the shape of the leaves and how it matches (or doesn’t) the seedlings where you planted.
Re-sowing
Due to the variabilities of weather outside, some of the seeds may not germinate, or do so very slowly. This may require some re-sowing in the thin spots to make up, but is easy and usually only needs doing once.
Keep a sharp eye on your young seedling crop, as they are absolutely tasty for wild critters – birds, mice and squirrels all love to munch on young, tender seedlings. If you see chewed or “disappeared” seedlings, look very closely to see if you can determine what ate them and take appropriate action – excluding them with netting or row cover or groundcloth, then re-sow.
Weather protection
You don’t have as much control the temperature and humidity of the garden, but you can moderate some of the temperature swings – all season long.
For cooler weather such as spring or later fall, row cover is a lightweight plastic sheeting which is easily spread over the seed bed, capturing some of the warmth from the sun and soil and raising the temperature for the seeds just a bit. As the seedlings grow, a small hoop house can be made from bent wire or 1/2 inch pvc pipe inserted into pvc elbows, creating a square hoop to support the row cover plastic.
Cooling in warmer weather can be done with shade cloth and the frames mentioned just above. Leave the ends open with shade cloth to allow for air circulation and so pollinators can get in.


 2019 Terroir Seeds


Leave a Reply
Want to join the discussion?Feel free to contribute!